 Raise The Rouf Health
 No matter your age, everyone loves a nice ice cream sandwich, especially on a hot summer day, maybe after some yard work, or a swim. Unfortunately, your typical store bought options are loaded with loaded with sugar and ultra-processed ingredients. Try this homemade option instead, loaded with protein and fiber from Greek yogurt and black beans (yes… beans!), naturally sweetened with dates, and still tasting delicious! You may be skeptical (and believe me, I was too!), but you won’t regret giving these guys a try!
Prep Time: 20 Minutes
Cook Time: 15 Minutes
Total Time: 35 Minutes
Makes ~ 6 Sandwiches
Origin
As a kid, I absolutely loved ice cream sandwiches. After an active day of playing in the sun and swimming in the pool, it was such an amazing treat that hit the spot every time! As I’ve grown and committed myself to the health realm more, I discovered the unfortunate truth of the ultra-processed ingredients that this childhood staple contained.
Rather than try remove them from my life completely, I took the time and effort to remake them in a way that I could enjoy them while still providing my body with whole ingredient fuel! So, as summer officially kicked off here in June, I thought it would be only fitting to do a little experimenting to recreate this childhood favorite!
Why These Work!
- Black beans create a dense, fudgy cookie texture without any flour — and they’re loaded with fiber and protein. Trust me, you can’t even taste them in the finished product!
- Dates act as a natural sweetener, binding the dough together without any added sugar in the wafer.
- Greek yogurt + Cool Whip make a light, creamy filling that firms up beautifully in the freezer while also provides a boost of both protein, calcium, and probiotics!
- Real fruit adds natural sweetness and color — cherries and strawberries are especially good here!
Ingredient
Wafer Cookies:
- 1 can (15 oz) black beans, drained and rinsed
- 10 dates, pitted
- If you’re dates are pretty hard and stiff, I recommend soaking them in some warm water for a few minutes prior to blending!
- 2 tbsp cacao powder
- ¼ tsp baking soda
- ½ tsp vanilla extract
- Pinch of salt
- ¼ cup cacao nibs or 100% dark chocolate, roughly chopped (stirred in AFTER blending)
Filling:
- ~2-2.5 cups Greek yogurt + Cool Whip combination (adjust ratio to your preference)
- Note: The higher the Greek yogurt content, the more “icy” the filling will be! I’d say about 1 cup of each if a good baseline!
- ½ tsp vanilla extract
- 1–2 tbsp raw honey
- Chopped frozen fruit of choice — I like cherries and strawberries here, but feel free to choose your favorite (fold into filling at the end)
How to Make Them
Step 1: Preheat & prep. Preheat your oven to 350°F. Line a baking sheet with parchment paper.
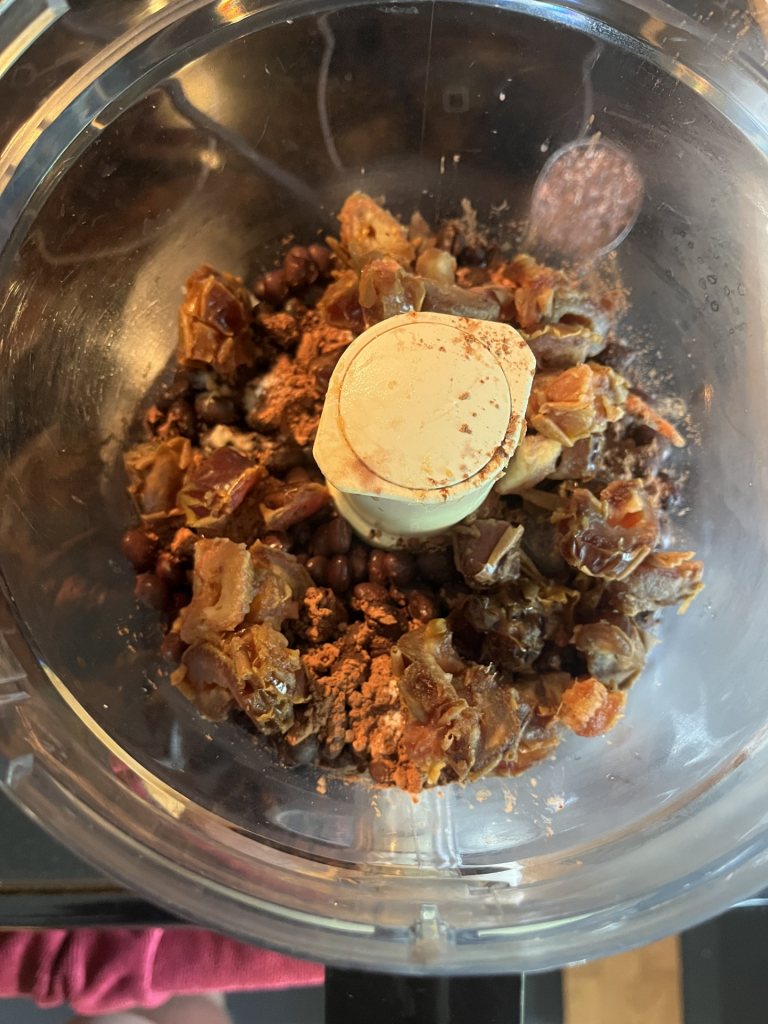
Step 2: Blend the wafer dough. Add the black beans, dates, cacao powder, baking soda, vanilla, and salt to a food processor or blender. Blend until completely smooth. Stir in the cacao nibs or chopped dark chocolate by hand — don’t blend them in.
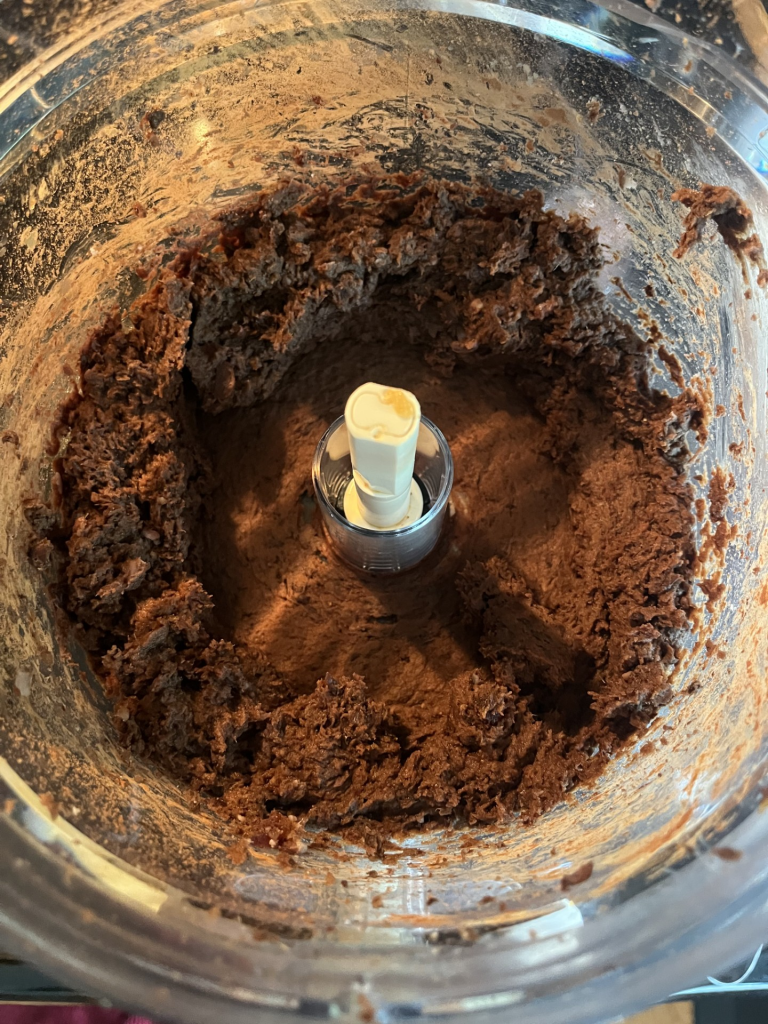
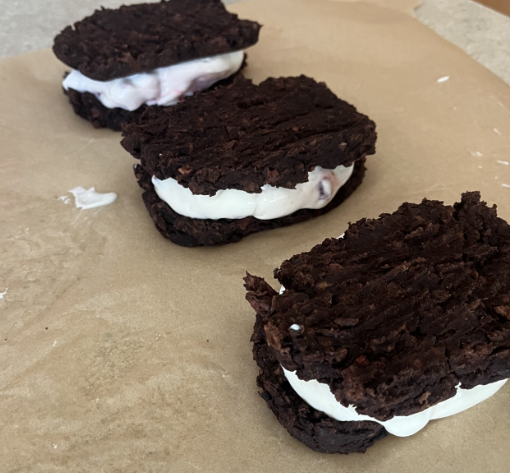
Step 3: Shape and bake. Scoop the dough onto your prepared baking sheet and shape into even rounds or rectangles — whatever size you want your sandwiches. Bake for 12–15 minutes, until set. It may seem that they are not yet done; however, they have a tendency to firm up as the cool!
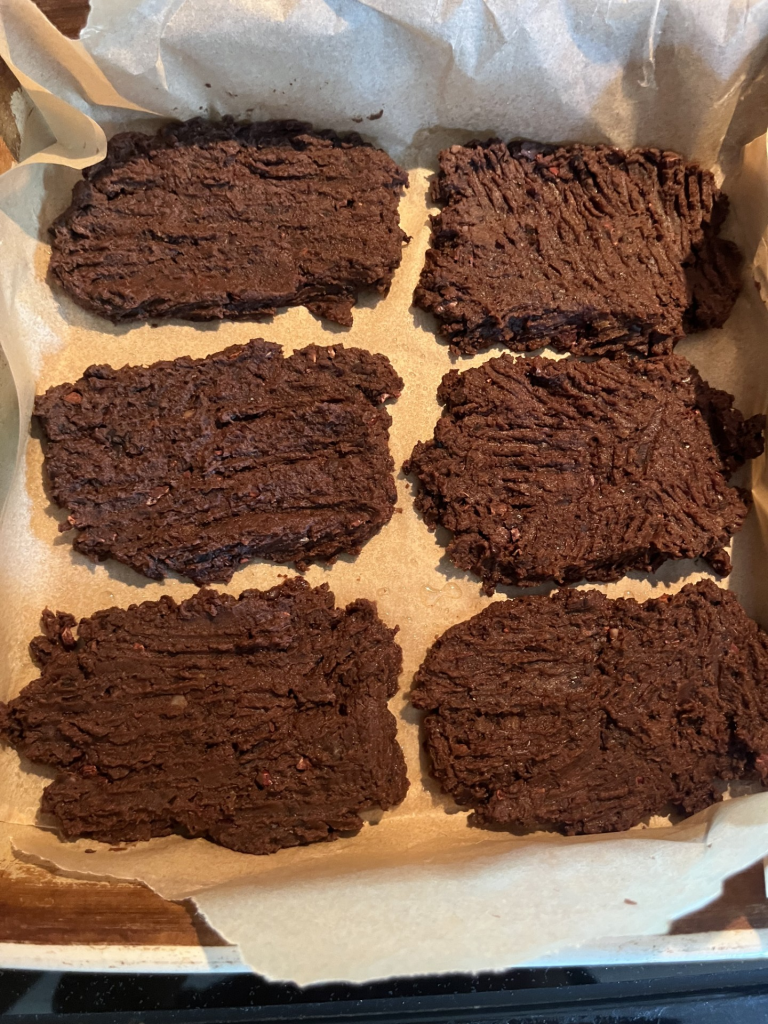
Step 4: Cool completely. This step matters. As tempting as it is to rush it and enjoy these, we must let the wafer cookies cool fully before assembling — a warm cookie will melt your filling. Let them cool for around 25-30 minutes at room temperature.
Step 5: Make the filling. While the cookies cool, whisk together the Greek yogurt, Cool whip, vanilla, and honey until smooth. Gently fold in chopped frozen fruit of choice as desired.
Step 6: Assemble. Lay a fresh sheet of parchment on a baking sheet with some overhang on the sides — you’ll use this to lift the sandwiches out later. Place half the cookies flat-side down on the parchment. Spoon a generous layer of filling onto each one, then press the remaining cookies on top to form your sandwiches. Feel free to eat any leftover filling!
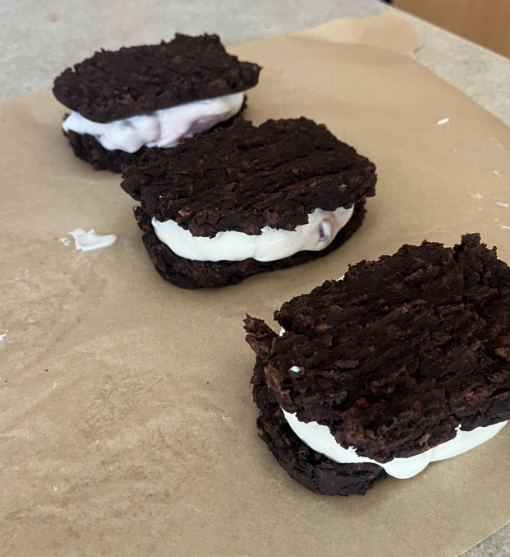
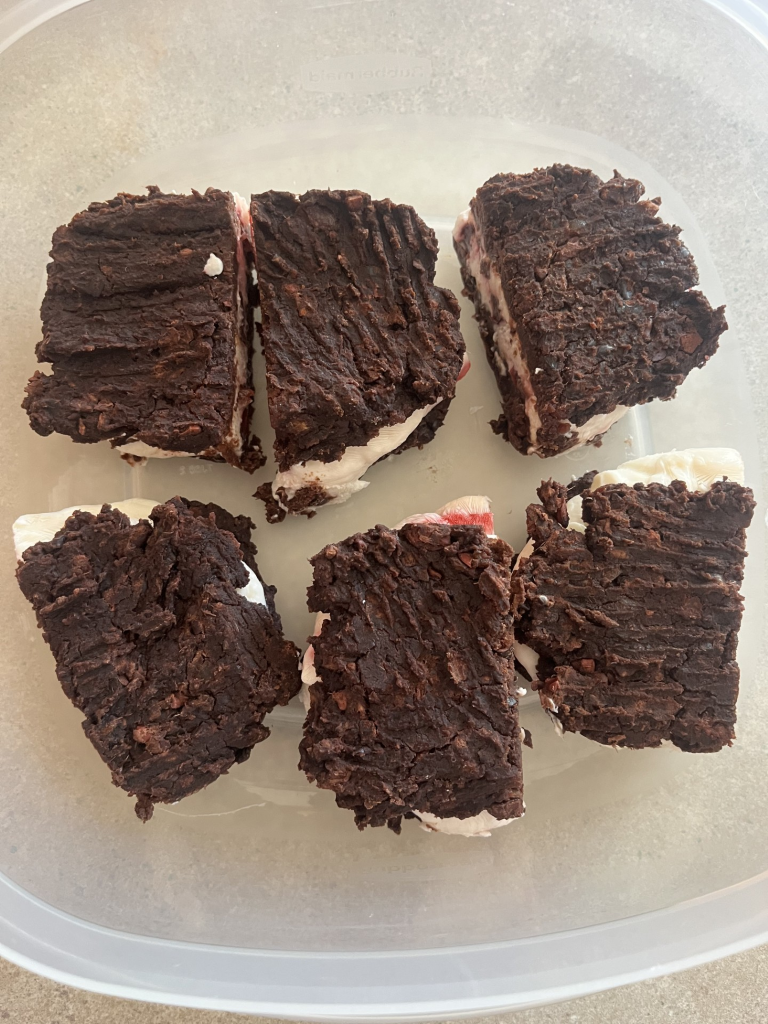
Step 7: Freeze. Slide the tray into the freezer and freeze for 4–6 hours, until nice and firm. When ready to serve, use the parchment overhang to lift everything out cleanly, then slice your sandwiches into smaller pieces to your liking! I cut mine into halves to yield 6 sandwiches. Feel free to cut them into however many you’d like!
Tips & Variations
- Make them ahead. These keep beautifully in the freezer — store in an airtight container or wrap individually in parchment. Prep them over the weekend, and have them available for a nice treat all week long!
- Fruit swaps. Cherries and strawberries are the go-tos, but mango, raspberries, blueberries, or any other fruit is sure to be delicious.
- Adjust the sweetness. Start with 1 tbsp of honey in the filling and taste before adding more — remember, we have the natural sweetness from the dates and frozen as well!
- Yogurt ratio tip. A higher Greek yogurt ratio = tangier, denser filling. More Cool Whip = lighter and creamier. Play with it based on your preference.
- Kid-friendly. Let kids pick their fruit mix-in and help press the sandwiches together —
- Remember, it’s not just about the having a healthier finished product food option, but also the time and memories that can now be made by having your kids help out! This bonding doesn’t take place with the store bought variety!
Final Thoughts
Let me know how this recipe turns out for you! If you have any questions or suggestions, I’d love to hear them. Feel free to leave them in the comments of this post, and I’ll get back to you in a timely manner!
Stay tuned for more sweet treat recipes like this one! Let these creations serve as a reminder that your favorite deserts can all be made healthier with a little bit of creativity!
Finally, stay tuned for a full sweet treat recipe book, “Raise The Rouf Recipes: Sweet Treat Edition.” It is currently in the making and will come to you in the future months!